Chocolate Toffee Bars: A Sweet Treat And Rich Flavor
- Desserts
- January 16, 2025
- No Comment
- 740
A Sweet Treat with a Rich History
There’s something truly magical about the combination of chocolate and toffee—a perfect balance of creamy, crunchy, sweet, and buttery flavors. Chocolate Toffee Bars capture this magic in every bite, making them a timeless favorite for home bakers around the world.
The Origins of Toffee
Toffee has its roots in 19th-century England, where sugar and butter were combined and boiled to create a brittle, caramelized confection. It became immensely popular during the Victorian era, as industrial advancements made sugar more affordable for the masses. The addition of chocolate came later, as chocolatiers began experimenting with pairing rich, velvety cocoa with the crunch of toffee.
The Birth of the Bar
The idea of transforming toffee into bar form likely originated in mid-20th century America, where convenience and innovation in baking were on the rise. The invention of sweetened condensed milk and the popularity of “magic bars” (layered desserts) paved the way for recipes like these Chocolate Toffee Bars. These treats combine the decadence of traditional toffee with the ease of baking a single pan of dessert, ideal for serving a crowd.
Why These Bars are Loved
Chocolate Toffee Bars have become a household favorite because they strike the perfect chord between simplicity and indulgence. The buttery crust, gooey caramel-like filling, and chocolate-toffee topping create a harmonious blend of textures and flavors. They’re easy to customize, require minimal equipment, and can be made ahead, making them a go-to dessert for holidays, potlucks, and celebrations.
A Sweet Story for Every Occasion
Each bite of a Chocolate Toffee Bar tells a story of culinary creativity and the enduring appeal of sweet treats. Whether you’re making them to share with loved ones, bring to a festive gathering, or simply to enjoy on a quiet evening, these bars carry a legacy of warmth and tradition.
So, the next time you bake a batch of Chocolate Toffee Bars, you’re not just creating a dessert—you’re continuing a legacy of sweet innovation that’s been cherished for generations. Enjoy the process and, of course, every delicious bite!
Prep Time: 20 minutes
Cook Time: 40 minutes
Total Time: 1 hour
Servings: 22-26
Ingredients
For the Crust:
- 3/4 cup margarine, softened (or substitute with unsalted butter for richer flavor)
- 3/4 cup packed brown sugar (dark or light, depending on your preference)
- 1 1/2 cups all-purpose flour
For the Filling:
- 1 (10 oz) tin sweetened condensed milk
- 2 tbsp margarine
For the Topping:
- 1 3/4 cups milk chocolate chips (semi-sweet can be used for a less sweet option)
- 1 1/3 cups toffee bits (add more if you like extra crunch!)

Instructions
Step 1: Prepare the Crust
- Preheat your oven to 350°F (175°C) and grease a 13×9-inch baking pan or line it with parchment paper for easy removal.
- In a large mixing bowl, cream together the softened margarine, brown sugar, and flour until the mixture is well combined and has a sandy texture.
- Press the crust mixture evenly into the prepared pan, making sure to reach all corners and keep the layer even.
- Bake for 20-25 minutes or until the edges are light golden brown. Remove from the oven and set aside to cool slightly.
Step 2: Prepare the Filling
- In a medium saucepan, combine the sweetened condensed milk and margarine.
- Cook over medium heat, stirring constantly with a silicone spatula to prevent burning. Heat for 5-10 minutes or until the mixture thickens slightly and turns a light caramel color.
- Pour the filling evenly over the cooled crust, spreading it gently with a spatula to ensure an even layer.
- Bake in the preheated oven for 12-15 minutes, or until the filling is lightly golden and set.
Step 3: Add the Topping
- Remove the pan from the oven and immediately sprinkle the chocolate chips evenly over the hot filling.
- Return the pan to the oven for 2 minutes to melt the chocolate. Remove from the oven and use a spatula to spread the melted chocolate evenly over the surface.
- While the chocolate is still soft, sprinkle the toffee bits over the top, pressing lightly to ensure they stick.
Step 4: Cool and Serve
- Allow the bars to cool completely in the pan at room temperature or speed up the process by refrigerating them.
- Once fully set, use a sharp knife to cut the bars into squares or rectangles.
- Serve and enjoy!
Pro Tips
- Substitutions: You can use butter instead of margarine for a richer flavor. For a dairy-free version, use plant-based margarine and dairy-free chocolate chips.
- Toppings Variation: Add chopped nuts (like pecans or almonds) or a drizzle of caramel sauce for an extra indulgent treat.
- Cutting Tips: For clean slices, run your knife under hot water, wipe it dry, and then cut through the bars. Repeat as needed.
Storage Instructions
- At Room Temperature: Store the bars in an airtight container at room temperature for up to 4 days.
- Refrigeration: During warmer months, refrigerate the bars to prevent the chocolate from becoming too soft.
- Freezing: Freeze the bars for up to 3 months. Wrap them individually in plastic wrap and store in a freezer-safe container. Thaw at room temperature before serving.
Nutritive Values (per serving, approximate)
- Calories: 210
- Fat: 12g
- Carbohydrates: 26g
- Protein: 2g
- Sugar: 19g
- Fiber: 1g
Make It Your Own
One of the best things about Chocolate Toffee Bars is how versatile they are. You can tweak the recipe to suit your taste, dietary needs, or the occasion. Here are some ideas to make these bars uniquely yours:
Flavor Enhancements
- Nutty Delight: Add chopped pecans, almonds, or walnuts to the crust or sprinkle them on top for extra crunch.
- Salted Caramel Twist: Sprinkle a pinch of flaky sea salt over the chocolate layer to balance the sweetness.
- Espresso Kick: Mix a teaspoon of instant espresso powder into the chocolate chips before melting for a mocha-inspired flavor.
Ingredient Swaps
- Butter Over Margarine: For a richer flavor, swap margarine with unsalted butter.
- Dark Chocolate: Use dark or semi-sweet chocolate chips instead of milk chocolate for a more sophisticated taste.
- Alternative Sweeteners: Replace brown sugar with coconut sugar or maple sugar for a subtle twist in flavor.
Dietary Adjustments
- Gluten-Free: Use a gluten-free flour blend for the crust to make these bars suitable for those with gluten sensitivities.
- Dairy-Free: Opt for plant-based margarine and dairy-free chocolate chips to create a vegan version.
- Low Sugar: Choose sugar-free chocolate chips and reduce the amount of toffee bits for a lighter option.
Creative Toppings
- Seasonal Flair: Add crushed peppermint candies during the holidays or colorful sprinkles for a party vibe.
- Fruit Infusion: Drizzle with raspberry or orange glaze for a fruity touch.
- Coconut Love: Sprinkle shredded coconut over the chocolate layer for a tropical twist.
Presentation Ideas
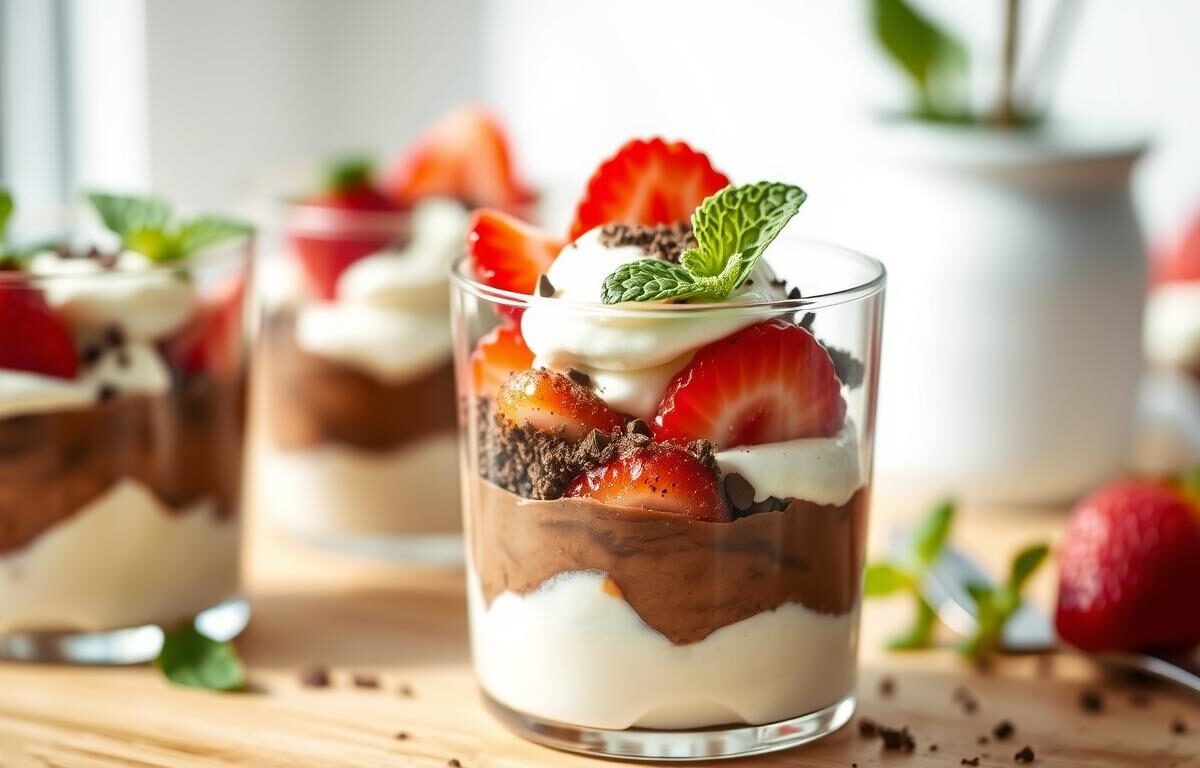
- Layered Beauty: Serve in elegant dessert glasses, stacking crumbled bars with whipped cream for a parfait effect.
- Dipped Bars: Cut into smaller pieces and dip halfway in melted chocolate for a gourmet treat.
- Mini Bites: Make the bars in a mini-muffin tin for bite-sized portions perfect for sharing.
FAQs
1. Can I use a different type of chocolate?
Absolutely! Dark chocolate or white chocolate can be used instead of milk chocolate, depending on your preference.
2. Can I make these gluten-free?
Yes! Substitute the all-purpose flour in the crust with a 1:1 gluten-free baking flour blend.
3. What are toffee bits?
Toffee bits are small pieces of hard caramelized sugar often coated with chocolate. You can find them in the baking aisle or make your own by crushing hard toffee candies.
4. Can I double the recipe?
Definitely! Use a larger pan or bake in two 13×9-inch pans. Adjust baking times slightly if needed.
5. Why is my crust crumbly?
If the crust mixture feels too dry, add 1-2 teaspoons of water to help it hold together before pressing it into the pan.
More Exquisite recipes

For another festive option, you can enjoy as well with this rich Kiwi, Banana and Orange Smoothie offer different flavor experiences for your dessert table, allowing you to adapt to various seasons and occasions while maintaining that wow factor that christmas is known for.
Follow Us for More Delicious Inspirations! 📌
Follow us on Pinterest for an endless stream of stunning Delicious inspiration! We’re constantly sharing new recipes, baking tips, and seasonal creations that will make your table the talk of every gathering.